OTOBO Ticket System - Changing the Logo
OTOBO Ticket System - Changing the Logo
Section titled “OTOBO Ticket System - Changing the Logo”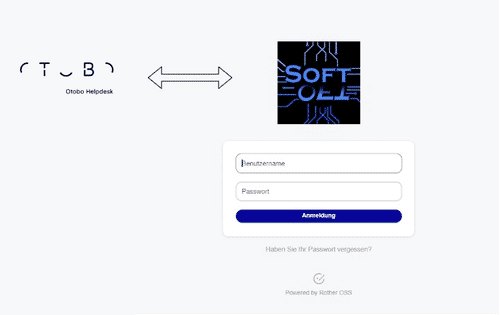
In the OTOBO ticket system, you can change the logo displayed at login, as well as the logo in the agent area and even the logo of the customer portal. Below, we will show you how to change the logo.
Changing the Login Logo
Section titled “Changing the Login Logo”You can change the logo displayed at login as follows:
- Go to the Admin area
- Select the System Configuration (System Configuration Guide)
- Search for “LoginLogo”
- Changing the AgentLoginLogo URL:
With the “Style Height”, you can also adjust the height of the logo. The URL can be a relative or an absolute URL to the logo.
Changing the Agent Portal Logo
Section titled “Changing the Agent Portal Logo”
You can change the logo displayed in the top right of the Agent portal as follows:
- Go to the Admin area
- Select the System Configuration System Configuration Guide
- Search for “AgentLogo”
- Change the URL of the “AgentLogo” setting
OTOBO Settings AgentLogo
Agent Logo Attributes
Section titled “Agent Logo Attributes”- StyleHeight : The height of the logo
- StyleRight : Distance of the logo to the right (a higher value shifts the logo to the left)
- StyleTop : Distance of the logo to the top (a higher value shifts the logo downwards)
- StyleWidth : The width of the logo
- URL : URL to the image source to be used as the logo (can be an absolute or relative URL to an image)
Changing the Customer Portal Logo
Section titled “Changing the Customer Portal Logo”
Customer Portal Login To change the image displayed at the Customer portal login, you must change the URL in the system configuration “CustomerLogin::Settings”.

CustomerLogin::Settings
There, you can use the “Background” setting to change which image is selected. Both a URL to an image file and a path to the image on the server are possible. With “LoginText”, you can change the text displayed in the customer portal.