OTOBO Ticket System – Process Management
OTOBO Ticket System – Process Management
Section titled “OTOBO Ticket System – Process Management”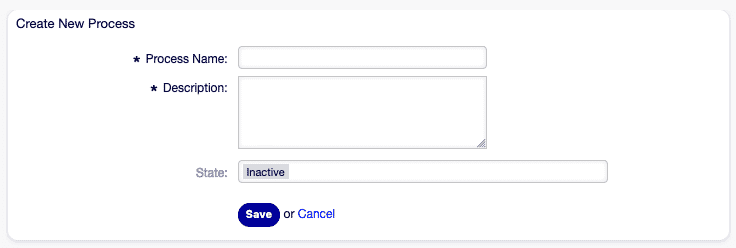
The OTOBO Process Management module enables the graphical modeling, automation, and monitoring of your business processes. From request intake to final approval, clearly defined procedures ensure higher efficiency, lower error rates, and transparent workflows.
Table of Contents
Section titled “Table of Contents”- Benefits at a Glance
- Creating and Editing Processes
- Activity Types – Details & Screenshots
- Transitions and Actions
- Export & Import
- Best Practices & Tips
Benefits at a Glance
Section titled “Benefits at a Glance”- Consistency: Standardized procedures minimize manual errors.
- Traceability: Every step is documented; logs can be audited.
- Automation: Automatic transitions and actions accelerate the process.
- Integration: External services and user inputs are integrated seamlessly.
Creating and Editing Processes
Section titled “Creating and Editing Processes”- Open Module: Navigate to Processes & Automation → Process Management.
- Create New Process: Clicking Add Process opens the canvas.
- Name & Description: Give your process a unique name and a brief note on its purpose and scope.
- Save & Deploy: After modeling, click Save & Deploy so that tickets can use the new process.

Activity Types – Details & Screenshots
Section titled “Activity Types – Details & Screenshots”flowchart TD
%% Process Management – General Overview
Start([Start]) --> CreateProcess[Create new process]
CreateProcess --> ScriptTask[Configure Script Task]
ScriptTask --> ServiceTask[Configure Service Task]
ServiceTask --> UserTask[Configure User Task]
UserTask --> DefineTransitions[Define transitions]
DefineTransitions --> DefineActions[Configure transition actions]
DefineActions --> Deploy[Deploy process]
%% Ticket flow
Deploy --> TicketCreated{Ticket created}
TicketCreated --> ExecuteScript[Execute Script Task]
ExecuteScript --> CheckCondition{Condition met?}
CheckCondition -->|yes| ExecuteService[Execute Service Task]
CheckCondition -->|no| HandleError[Error handling & log]
ExecuteService --> ShowUserTask[Show User Task]
ShowUserTask --> EndSuccess[Process completed]
style Start fill:#a6a,stroke:#333,stroke-width:1px
style EndSuccess fill:#6a6,stroke:#333,stroke-width:1px
style HandleError fill:#a66,stroke:#333,stroke-width:1px
Script Task Activity
Section titled “Script Task Activity”Execute OTOBO-native scripts, e.g., for data preparation.
Key Fields:
- Name of the activity
- Script selection
- Parameters (key/value pairs)
Service Task Activity
Section titled “Service Task Activity”Call external web services and process their responses.
Key Fields:
- Web service selection
- Invoker configuration
- Timeout & error code
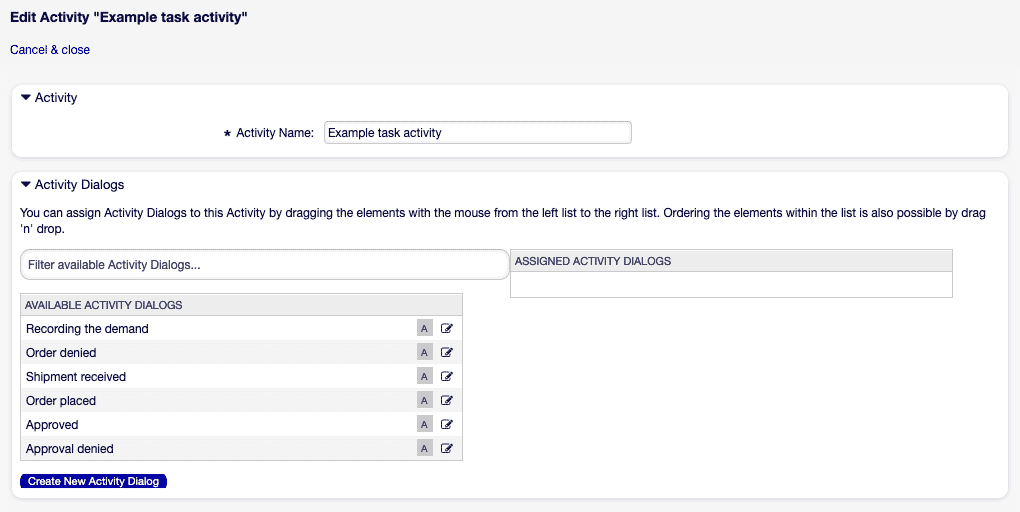
User Task Activity
Section titled “User Task Activity”Involve agents or customers to make decisions or provide additional information.
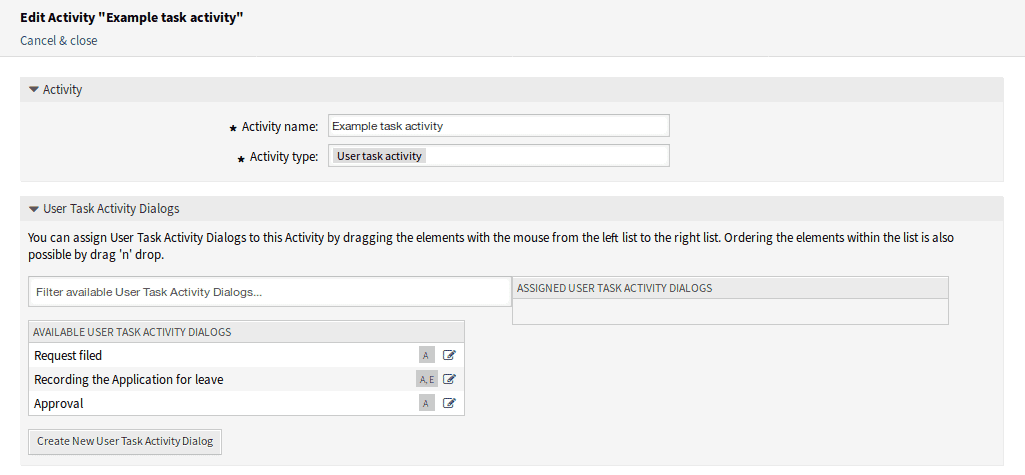
Key Fields:
- Activity dialog
- Mandatory fields
- Visibility (Agent / Customer)
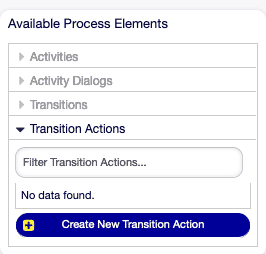
Transitions and Actions
Section titled “Transitions and Actions”Between activities, you define Transitions (conditions for process flows) and Transition Actions.
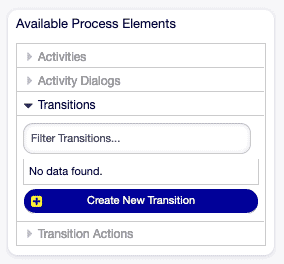
- Create Transition: Draw an arrow from one activity to the next.
- Define Condition: e.g.,
DynamicField_Status = 'approved'. - Add Actions: Under “Actions” you can:
- Change queue
- Adjust owner
- Trigger email notification
Export & Import
Section titled “Export & Import”Share your process definitions with team members or other instances:
- Export: Process → Export JSON
- Import: Import Process and upload the JSON file
Prerequisite: All referenced queues, roles, and dynamic fields must exist in the target environment.
Best Practices & Tips
Section titled “Best Practices & Tips”- Activate Test Mode: Use the Test Mode to check workflows without affecting actual tickets.
- Modular Processes: Break down extensive workflows into sub-processes for better maintainability.
- Versioning: Create a new version for every release – this keeps previous workflows intact.
- Detailed Descriptions: Maintain meaningful comments for every activity and transition.
- Monitoring & Logs: Enable extended output in daemon logging to monitor workflows during operation.